It’s that time of year again when I am on the hunt for the perfect animal print flats, that comfy slouchy sweater and maybe this year I’ll get out of my comfort zone and go for the moto jeggings! When I think of all those soft textures and a leafy backdrop of course I always go to those Soft, Shiny, Slightly Bouncy, Soft Waves! These curls were my first love and when I just want a style that is easy to wear over days I always go back to these soft waves. Yep! Now I just need a Pumpkin Spice something and I’m ready to go!
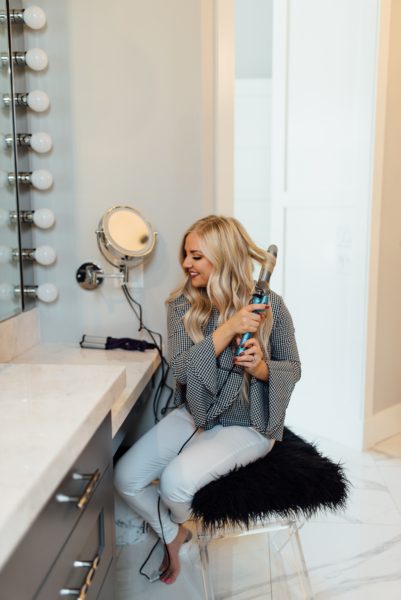
Creating these waves is mostly technique but having the right Tools and Products will make your results easier and last longer! I’ve talked about this Iron many many times but hey it works great and is an awesome price! The Babyliss Pro Nano Titanium 1 1/4” is my JAM! This iron has kept my stamp of approval for a few reasons. First, is the Titanium barrel , being that it is titanium you can expect this baby to heat up evenly and put out the most heat! Second, is that amazing coating that looks like a matte finish on the barrel! This coating allows you to just glide through your sections and if you need to pause for a second you won’t get a kink in the hair! The final reason is the heat settings which of course are necessary to mirror your hair texture! (High heat on coarse hair and Low heat on fine hair)
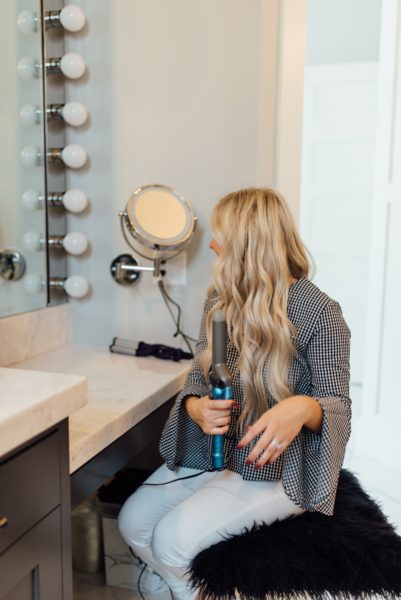
Now that you are well equipped here we go with all the details 🙂
STEPS
- Section hair into 3 sections (Ears & Down, Temples to Ears, Temples & Up)
- Prep section by spraying light dry shampoo
- Grab a two finger width section to begin the first curl
- Open the clamp of the curling iron w/ pointer finger on clamp & clamp facing the front
- Starting in the middle of the section clamp iron& roll the iron towards the head
- Before you touch your head w/ the iron, open clamp slightly and drag the iron further down the section without unwrapping.
- Release the clamp & roll the iron back up towards your head
- Then. depending on the length of your hair, repeat step 6 until you can leave just over an inch of your hair hanging out of the iron.
- On your last turn hold the iron with your hair wrapped around for 1-2 seconds & then slowly “click” the iron down & out of the section of hair to release the curl
- Let this curl sit & cool while you move on the to the following sections until you have curled all of your hair
- Once all curls have cooled to the touch, then with your fingers or a ventilated brush, brush through the curls to separate them
NATURALLY CURLY FRIZZY HAIR TIP**
If your hair is naturally curly then prior to curling don’t worry about straightening your hair to smooth out the frizz. Your curling iron will get as hot as a straightener and you can use it to smooth out the very top of your hair if you need it. Otherwise, all your natural body will just work In your favor!
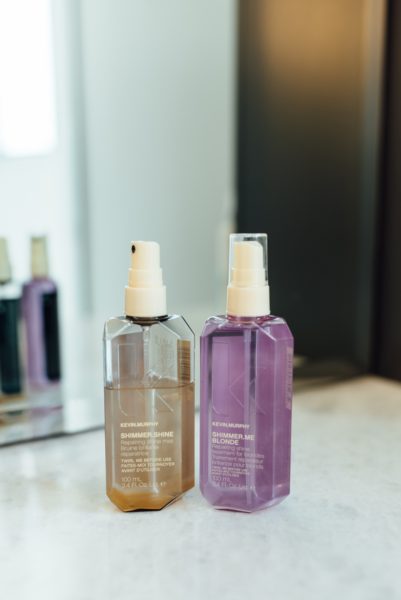
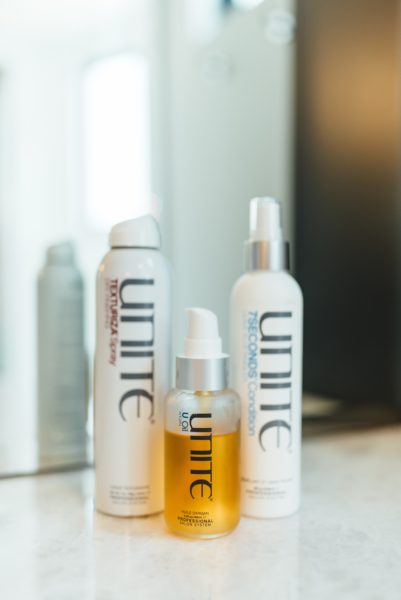
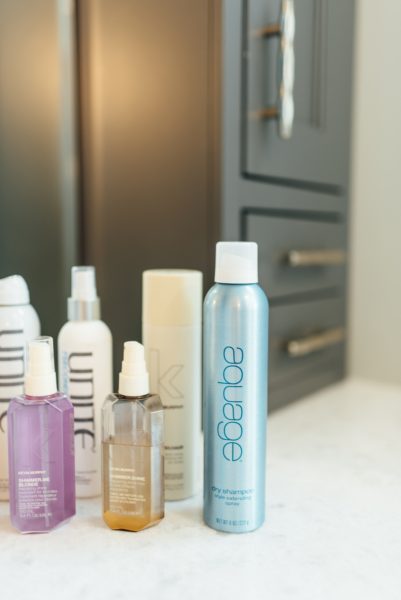
As you retouch your top curls over the next few days be sure to reapply a light oil to your ends to keep the hydration and shine with your texture! My go-to products for this is the UNITE U Oil because I can use it wet or dry and my other favorite is the Shimmer Shine Spray from Kevin Murphy because it is a “spray oil” which is just enough to hydrate & obviously it adds MAJOR shine!
NATURALLY SILKY SMOOTH HAIR TIP**
If your hair is naturally that silky soft texture where it just doesn’t seem to hold then be sure to prep each section with a Lightweight Dry Shampoo! My favorite is the Aquage Dry Shampoo because it just gives your hair something to hold onto, it’s clear, and you simply cannot overuse it!
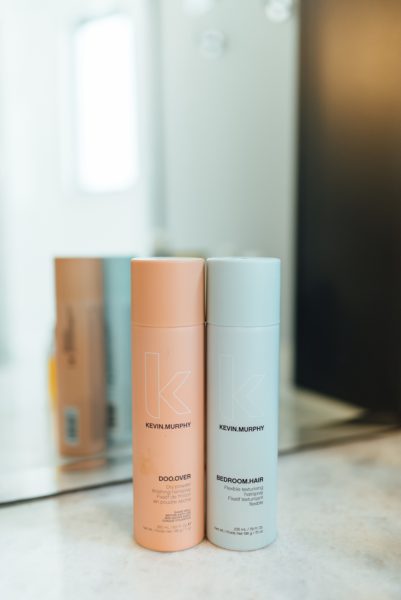
Second I love to finish with a Texture Spray vs a Hairspray! Here is my logic with this one… we get hot and sweaty or we live in a humid climate OR at the very least our scalp gives off natural oils! So why would I use a WET product to hold my hair? I have no idea.. which is why I switched to texture spray for finishing to avoid my hair going flat! My two favorites are UNITE Texturiza or Kevin Murphy Do Over !
Watch my video below to see these tips and steps in action and remember practice makes perfect! I always suggest turning the iron off completely or super low heat to just get the iron placement and the motions down before you start to apply heat! Try it out and send me a pic on IG or FB! I love to see the results 🙂


